MELT AND POUR METHOD
Supplies
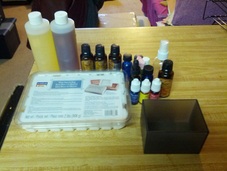
The first step to making melt and pour soap is having your supplies. This includes the melt and pour base, coloring (only colors that are safe for soap use), fragrance/essential oils (ONLY USE ESSENTIAL OILS THAT ARE SAFE FOR SKIN USE), a container to melt the soap in, and a mold for the soap base. Most of these items can be found in your local craft/hobby supply store, such as Michaels, Hobby Lobby, and Joann's.
Starting the soap base
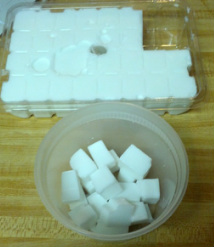
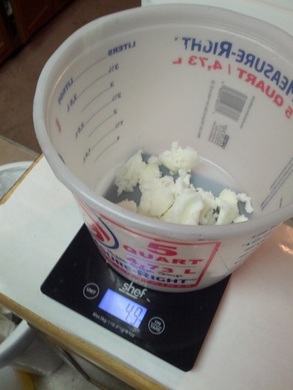
First, decide the ounce of the bar you want to make. I will only be making only a single 4 oz bar during this tutorial. Usually soap bard are 3-4 oz, though sample bars can be considerably smaller (think the size of fancier cookies).
Weigh out the amount of soap you need to melt, cutting it up into small pieces. Usually the smaller the piece, the easier/quicker it will be to melt. Following the instructions on the M&P base soap (white glycerin is used for this one), heat it for 30 seconds in the microwave, stir, and follow with ten second intervals until soap is melted.
Note: Only 4oz of soap max should be melted at a time using this method. Any more and it can dry out the soap. Be sure to cover your melting container to avoid drying out your M&P base.
Adding color and fragrance
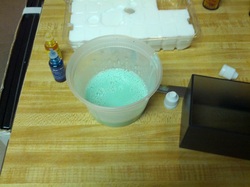
Once the soap has been melted, it's time to add color and fragrance.
Stir the soap thoroughly after it has been melted, following with color. I used about two drops of yellow per ox and around one drop of blue per oz to make this minty green color.
You'll want to coordinate the color with the scent you're using, so I used about 10 drops Eucalyptus mint fragrance oil and 3 drops peppermint essential oil (EO is much, MUCH stronger than FO, especially mints. Adjust accordingly). Stir thoroughly.
Molds!
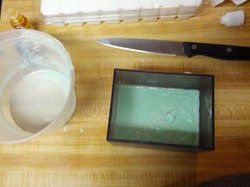
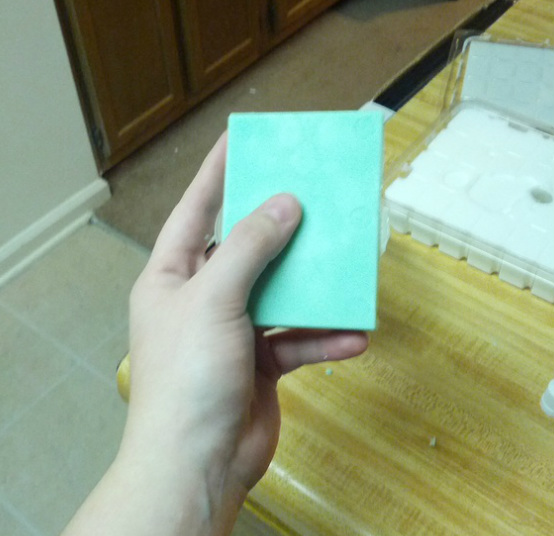
Once the soap is scented and colored, pour it into your base mold. Here, I'm using a simple box that is made out of heat-resistant plastic, since I'm still waiting for my silicone molds to come in.
Pour slowly as to avoid bubbles (like the ones you can see here). If they do form, however, you can spritz the top with rubbing alcohol to pop them. I didn't do it here, because this is a base soap I'll be using for another recipe, so it isn't the finished product.
Let it cool for 1-2 hours. This process can be sped up using the fridge, but DO NOT PUT IT IN THE FREEZER. It will dry it out.
COLD PROCESS METHOD (room temperature - pictures coming soon!)
Choose a recipe.
|
For a very basic, starter soap, you can use the following:
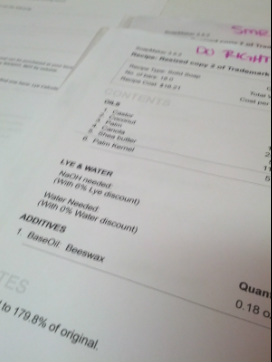
Coconut Oil - 4.96 oz Olive Oil - 4.96 oz Vegetable Shortening (without Palm oil) - 6.08 oz Lye - 2.293 oz Water - 6.08 oz All of these ingredients (aside form the lye, depending on your area) can be purchased at your local grocery store. Keep in mind that these measurements are always by WEIGHT, NOT by volume. You also want to always run your recipe through a lye calculator. You can find one here: Lye Calculator |
|
|
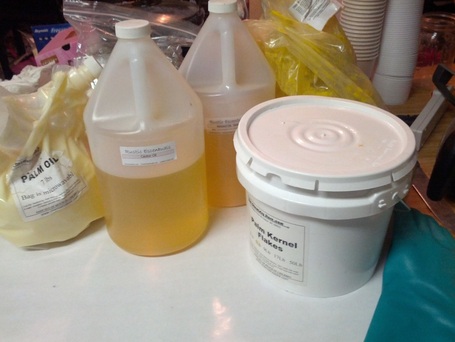
Gather your supplies.For cold process soapmaking, you will need:
-Oils called for in your recipe -Lye -Distilled water -Safety goggles/thick rubber gloves (preferably approved for chemical solvents) -Scale measuring in oz, preferably two decimal points past 0 (as in 0.00 shows up when it's turned on and tared to zero) -Long sleeves and clothing o protect yourself from any possible lye exposure -Soap-safe pot (usually stock pots work well). Any stainless steel or HDPE plastic container will work. -Whisk or other stirring utensil for the lye/water solution -Several silicone spatulas -Soap mold (wood or hdpe or silicone or whatever) -Stick blender (optional, but trace in minutes beats working for hours with a whisk! -Any colorants/fragrances you wish to use, making sure they are SKIN SAFE. Retailers like Bramble Berry sell different fragrances and colors, all approved for use on the skin! |
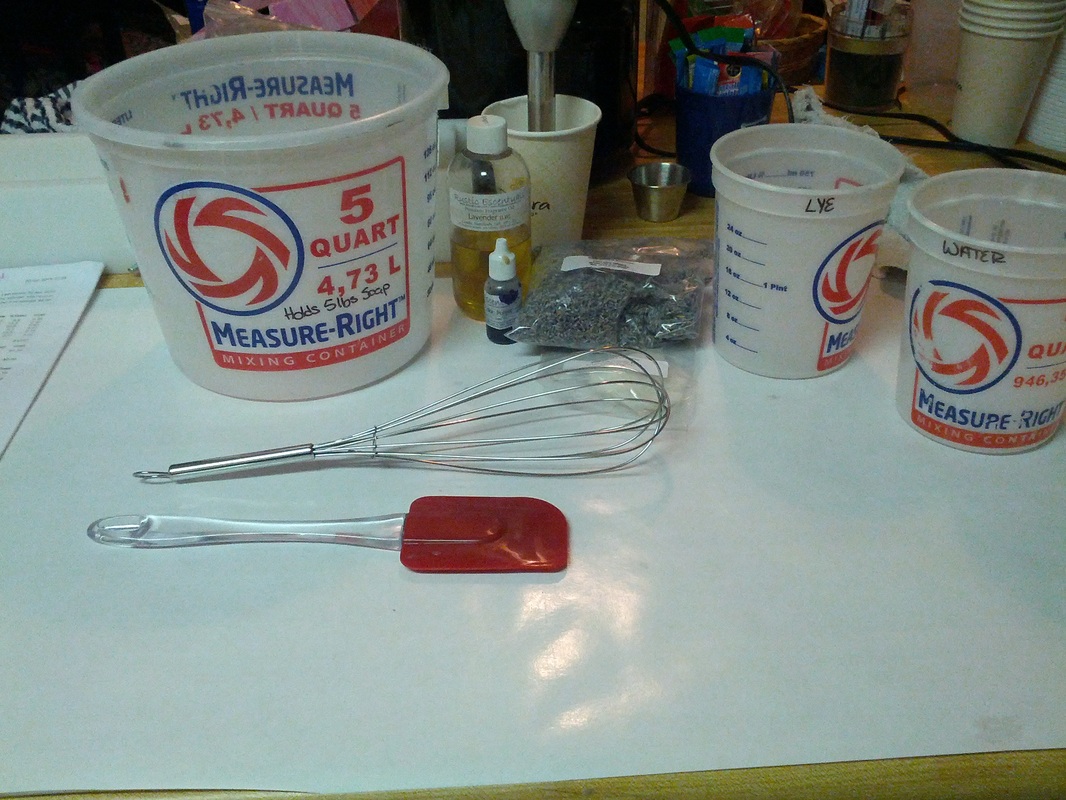
Prepare your workspace.Make sure all counters are clean and organized, make sure you have your fragrances/colors ready, make sure all ingredients and soap making utensils are set out where they need to be in an orderly manner. You don't want to be running around all crazy-like! This is serious business.
|
|
|
Measure your oils.I like to measure out my liquid oils separate from my solid oils. Have your solid oil(s) measured in a soap-safe container, and your liquid oil(s) measured in another container.
|
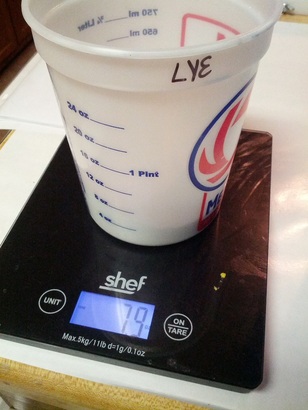
Measure your lye and water.Exercising caution and wearing your goggles, gloves, and long sleeved clothing, measure out the appropriate amount of lye. In a SEPARATE CONTAINER measure the needed amount of distilled water.
|
|

|
Combine the lye-water solutionDo this in a well-ventilated area, outside, or even under your stove fan. Remember: SNOW FALLS ON THE LAKE.
ALWAYS, ALWAYS, ALWAYS pour the lye into the water, NOT the other way around! This prevents a cataclysmic volcano of lye-water solution from erupting from your containers, and avoids possible injury. Be cautious, but not paranoid. Boiling water for pasta can cause severe burns, but you don't freak out about it. Treat lye the same way, being very careful not to get any on you or your workspace. Carefully pour the lye into the water, bit by bit, stirring with your whisk until the water is clear. |
Room-temperature soapmaking!Normally, you would leave the lye to cool as you warm your solid oils to melt them. I separate my solid and liquid oils for a reason, however.
Slowly, SLOWLY pour the clear, very VERY HOT lye solution into the pot with your still solid hard oils. The heat from the lye melts the oil. Carefully stir this mixture with your whisk until all of the solid oil has melted. Then, add your liquid oils, using your silicone spatula to really scrape the sides. No oils left wasted! |
Begin mixing your oils.Once all the lye-water solution and oils are combined, use your stick blender to mix them. I usually use a few short bursts on the low setting, emulsifying the mixture and sometimes waiting for a very light trace to a medium-thick trace, depending on what kind of soap I'm making.
Trace is where you can see the trail of soap on top of the batch when the stick blender is pulled out. Think very thin pudding - it stays momentarily separated from the base pudding if you plop some on top. |
After Trace:Once trace is reached, add any fragrance oil or colorant. Be prepared to move fast however, as some scents speed up trace in soap and can make it difficult to spoon the raw soap into the mold. Have your molds prepared/lined before this step to be sure not to need to rush and make a mess!
|
Pour your soap into the mold!Pour in a line down the center of your mold and back with the soap batter. Repeat until soap is halfway up the mold, pause, and tap the mold several times firmly on the counter to loose any air bubbles. Fill mold the rest of the way, repeating the tapping process.
|
Cover, insulate, wait, cut!The hardest part of soap making: the wait.
Once your soap is in the mold, cover it and wrap it in towels to insulate it. Over the next 24 hours it will go through saponification, where the lye reacts with the oils, forming a stable soapy mixture. After 24 hours, the soap doesnt need to be insulated anymore. Unmold after 2-3 days and cut, leaving the soap to cure for 4-6 weeks. |
Enjoy your creation! |
